
This is such a sensational colour you can see more photo's here
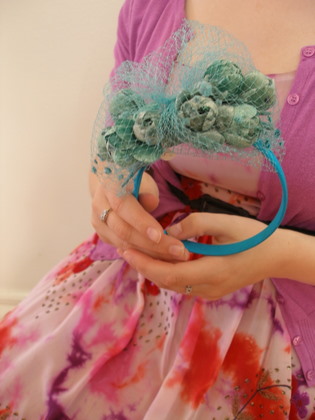


 This is vintage velvet in an amazing hot raspberry colour....unfortunately I have already run out but (!) this belt looks so good I couldn't resist showing you.
 Hand made by me for you ! Vintage Teal Velvet in the most divine colour - just look at the sheen - I have just found this vintage velvet and I am obsessed with it...look at how beautiful it looks made up. Buy it here.


 Nice little vintage felt that EVERYONE loves, love what a stylist has done with this little grey felt we lent her for her portfolio....divine.


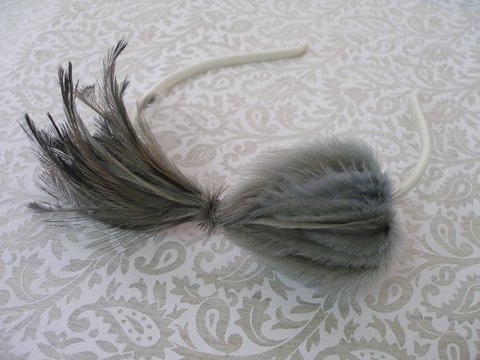

 and the end result the hat for sale in my shop - if you would like to see this hat being made scroll down to see the process, click here if you would like to buy
 This hat is going to give the wearer a nice flattering filtered light through the soft coloured vintage straw.

 and the label goes in at center back (students take note) and ALWAYS straight AND by hand.
 I stitched the head band on the outside top and bottom as I wanted it flush against the hat - the effect is a little puffy which would normally drive me mad but I am willing to put up with it due to the soft straw.
 Tie tacking at various places so the velvet ribbon stays where I want it to.
 Turning back the edges of the velvet ribbon and stitching them so that the ribbon is not cut flush - trying not to pull the tread too tight which is tricky on such a soft open straw.
 Another spin in front of the mirror as next time I see this hat it will be on a customers head and I want to make sure that it all looks good to my eye BEFORE then as by the time it's on a head it's too late! In this photo you can see the effect of the big self turn edge on the straw I was talking about.

 Gathering the ends of the velvet so they can tuck under and will be hidden.
 Just checking the 'look' in the mirror, one of several checks I will do throughout the trimming.


 On to my poupee and the start of something interesting in the trim. I like the mix of textures between the straw and the velvet also the colours are good together - all important for a great hat.
 I always stop and have a good look at this stage to see all is as symmetrical as possible. As much as this this type of straw will allow. At various stages I also look at the reflection of the hat I am making and you will see photo's of me looking at the reflection as this always gives me the opposite view and lets you see the symmetry in stages as I am making. I have always worked in front of a mirror for this purpose - NOT to check my lipstick (!) as some have suggested (!)....
 Start with the head fitting as this can be very handy to hang onto while you are trimming the rest of the hat. In this instance I have chosen to stitch it on the machine which I don't always do but as this straw is flimsy it can benefit by being machine sewn as this will make it more stable and hard wearing. Make sure that the back join is at the back. NOTE: a lesson here for my students as someone always starts the head fitting at the side or the front !! Always choose the EXACT same colour cotton as the head fitting ribbon. Pinned in place I then sewn on the trusty vintage Singer, my only sewing machine. My sewing machine is from the 1950's and is an excellent straight sewer with a very even stitch length and she will sew any fabric.


 Posts
All Comments
Posts
All Comments


